Replacing eScooter Parts: A Step-by-Step Tutorial
As eScooters continue to gain popularity as a convenient and eco-friendly mode of transportation, it’s important for riders to understand how to properly maintain and repair their vehicles. One aspect of eScooter maintenance that every rider should be familiar with is replacing parts. Whether it’s a worn-out brake pad or a faulty motor, being able to replace eScooter parts yourself can save you time and money. In this step-by-step tutorial, we will guide you through the process of replacing eScooter parts, ensuring that your ride stays in top shape. So let’s get started!
1. Identify the Problem
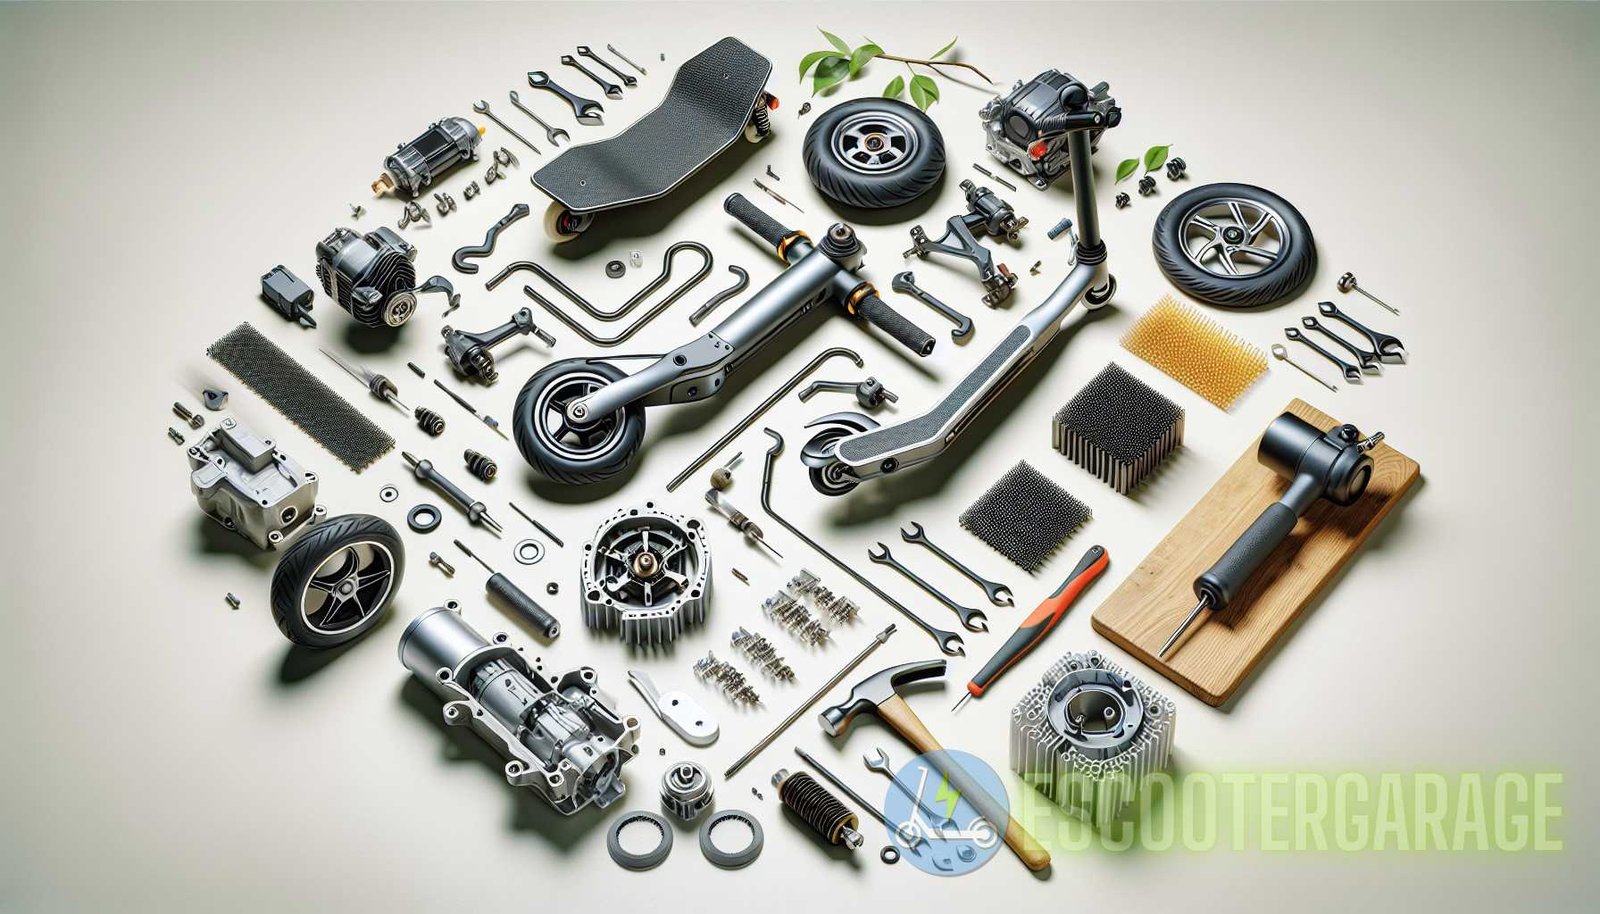
The first step in replacing eScooter parts is identifying the problem. Before you can order a replacement part, you need to know exactly what needs to be replaced. Common issues that may require part replacement include:
- Worn-out brake pads
- Flat or punctured tires
- Faulty battery
- Malfunctioning motor
- Broken handlebars
Once you have identified the problem, you can proceed to the next step.
2. Research and Order the Replacement Part
With the problem identified, it’s time to research and order the replacement part. Start by checking the user manual or the manufacturer’s website for information on compatible parts. If you can’t find the information you need, try reaching out to the manufacturer’s customer support or join online forums or eScooter communities where fellow riders may have shared their experiences with part replacements.
When ordering the replacement part, make sure you are purchasing from a reputable seller or directly from the manufacturer. Look for reviews and ratings to ensure the quality and reliability of the part. Additionally, double-check that you are ordering the correct part for your specific eScooter model.
3. Gather the Tools

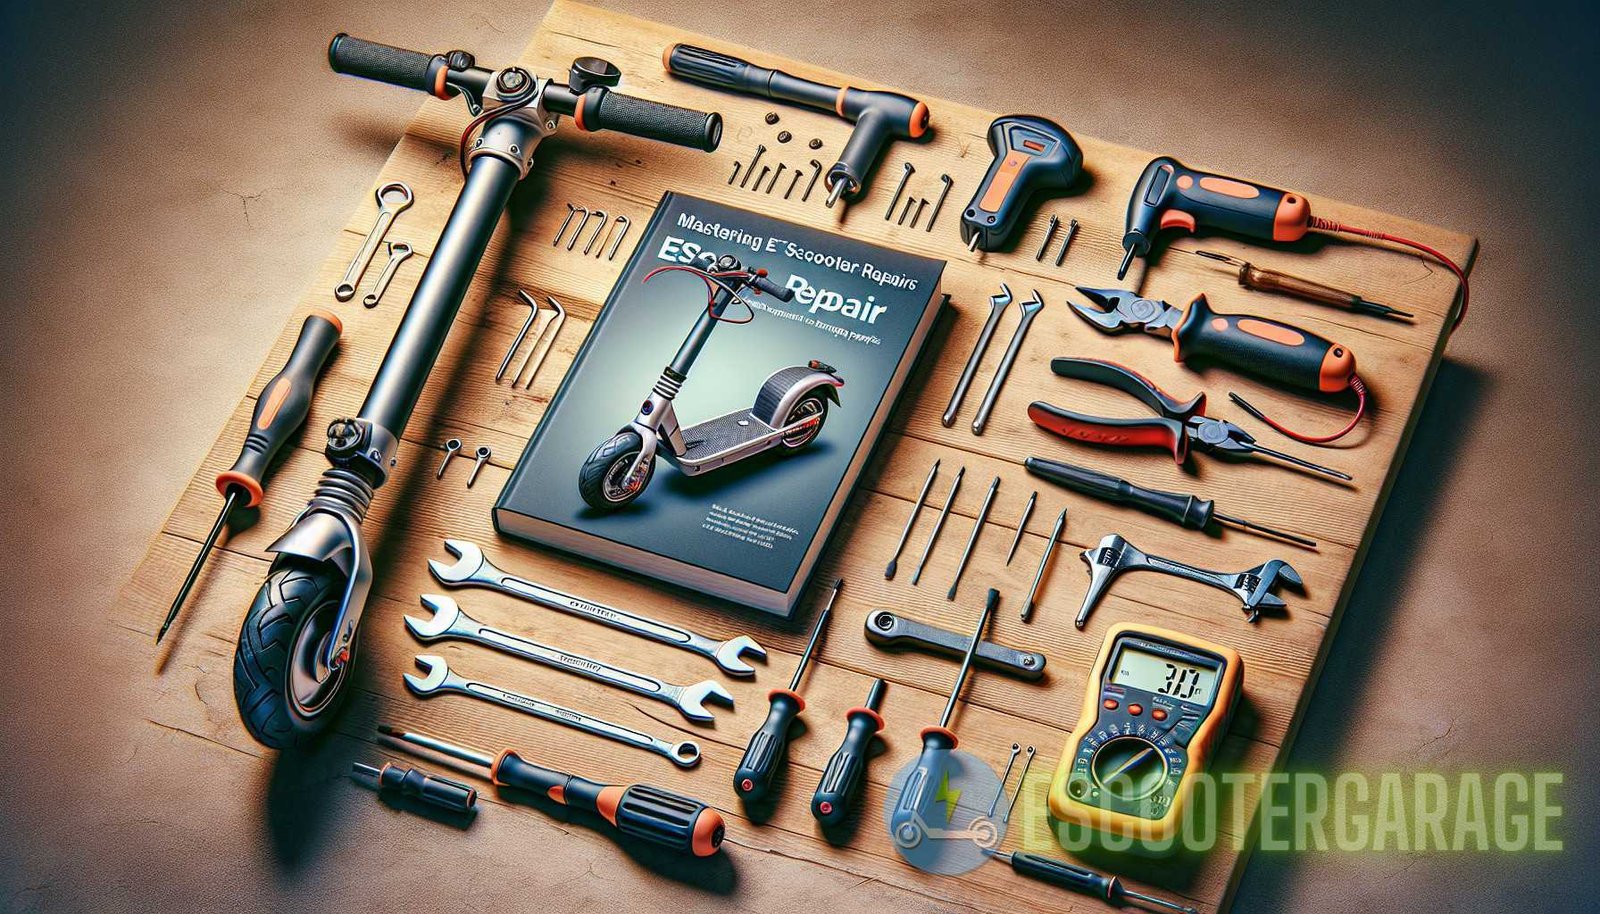
Before you start replacing the part, gather all the necessary tools. The tools required may vary depending on the specific part you are replacing, but some commonly used tools for eScooter repairs include:
- Allen wrench set
- Screwdriver set
- Tire levers
- Needle-nose pliers
- Multimeter (for electrical component replacements)
Make sure you have all the required tools before moving on to the next step.
4. Prepare the Workspace
Having a clean and organized workspace is crucial for a successful part replacement. Before you start working on your eScooter, clear a designated area where you can lay out the parts and tools. Ensure that you have enough space to work comfortably and that there are no obstacles that could hinder your progress.
It’s also a good idea to have a clean rag or towel on hand to wipe away any dirt or grime that may accumulate during the repair process. Keeping your eScooter clean will not only make the repair easier but also prolong the life of your parts.
5. Disconnect and Remove the Old Part
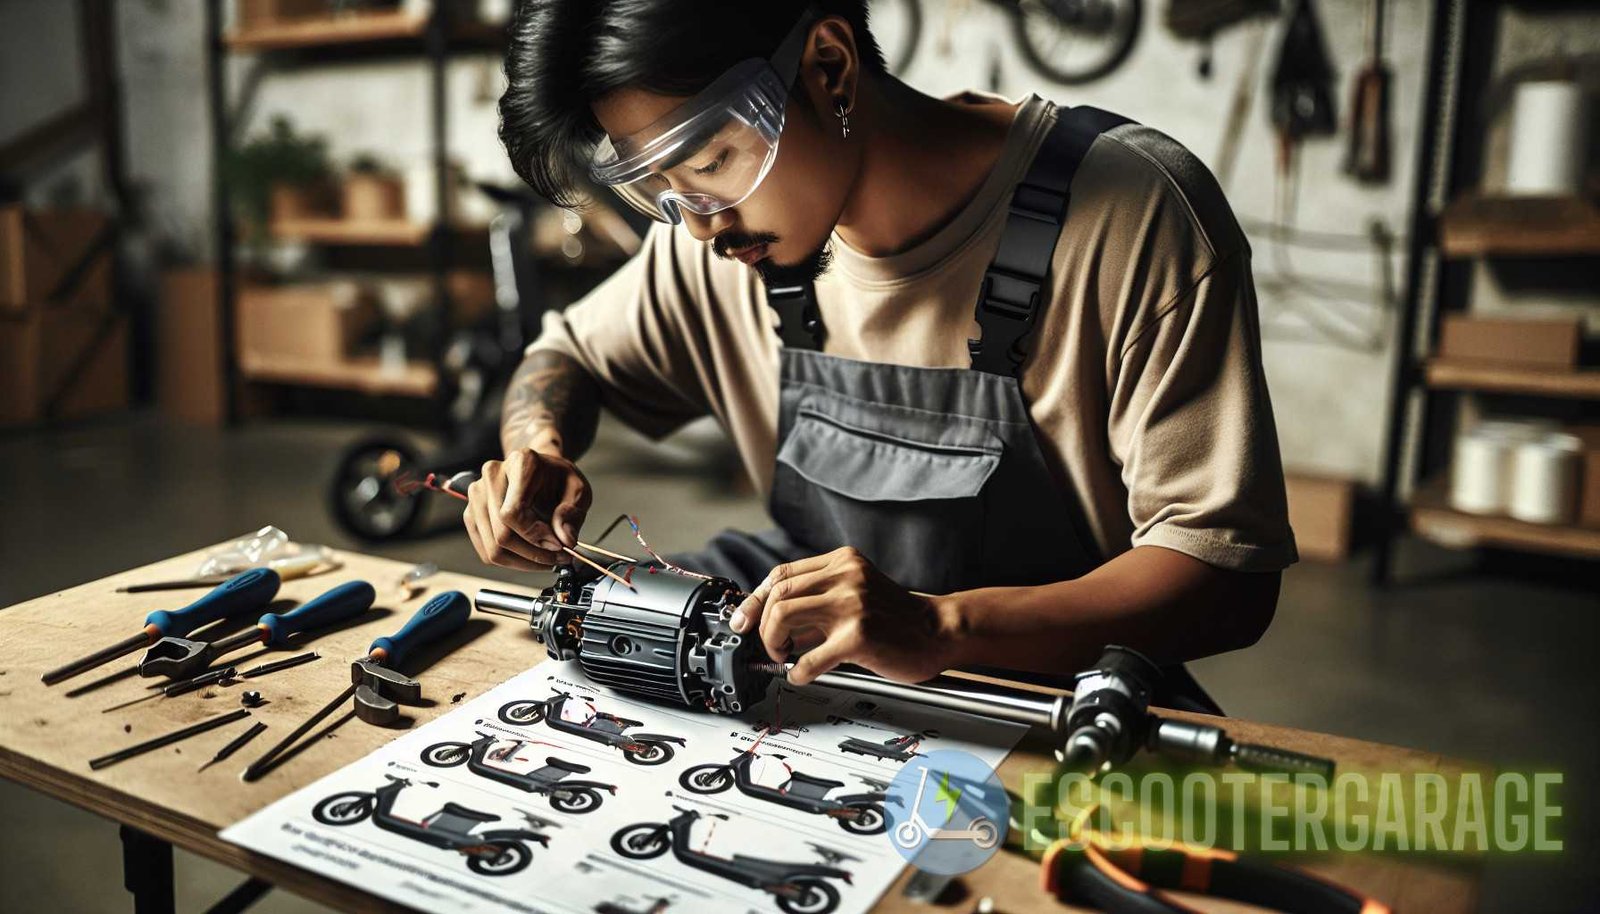
Now that you have everything prepared, it’s time to disconnect and remove the old part. Depending on the part you are replacing, this step may involve disconnecting wires, loosening screws, or removing other components that may be in the way.
It’s essential to follow the manufacturer’s instructions or a reliable repair guide specific to your eScooter model to ensure that you don’t accidentally damage any other components in the process. Take your time and be gentle when disconnecting and removing the old part.
6. Install the New Part
With the old part removed, it’s time to install the new one. Again, consult the manufacturer’s instructions or a reliable repair guide for your specific eScooter model to ensure that you install the part correctly. Follow the step-by-step instructions provided, taking note of any wiring connections, screws, or other components that need to be reattached or adjusted.

During the installation process, pay close attention to any alignment or calibration requirements. Some parts, such as motors or brakes, may require specific adjustments to ensure optimal performance. Take your time and make sure everything is properly installed before moving on to the next step.
7. Test the New Part
Once the new part is installed, it’s important to test it before putting your eScooter back into regular use. Turn on your eScooter and check for any changes in performance or any unusual noises. If everything seems to be in order, take your eScooter for a short test ride to ensure that the new part is functioning correctly.
If you notice any issues during the testing phase, double-check your work and consult the manufacturer’s instructions or a reliable repair guide. It may be necessary to make minor adjustments or retrace your steps to identify and correct any problems.
8. Regular Maintenance and Inspection
Now that your eScooter is back up and running with its new part, it’s important to prioritize regular maintenance and inspection to prevent future issues. Regularly clean and inspect your eScooter for any signs of wear or damage. Pay particular attention to the replaced part to ensure that it is functioning properly.
Additionally, follow the manufacturer’s recommended maintenance schedule, including tasks such as battery charging, tire pressure checks, and brake adjustments. By staying on top of regular maintenance, you can maximize the lifespan of your eScooter and its parts.
Conclusion
Replacing eScooter parts doesn’t have to be a daunting task. By following this step-by-step tutorial, you can confidently identify, research, and replace the necessary parts to keep your eScooter in top shape. Remember to arm yourself with the right tools, prepare your workspace, and refer to reliable resources for guidance. Regular maintenance and inspection will help ensure that your eScooter continues to perform optimally. So get out there, enjoy your ride, and ride responsibly!
Sources:


